How to set this up
Follow the steps below to start building your own protected content site with Outseta and Webflow!
Get started
Who is this site for?
This site is a Webflow cloneable made by the team at Outseta to help you quickly launch a protected content site. It's for creators or companies that want to offer a mix of free and premium content on their site. We've set the site up so that "Free" articles can be viewed by anyone (and "Premium" articles just show a teaser). Signing up for a plan and logging in gives users full access to those "Premium" articles.
Clone it
Start by cloning the site—this will save you a ton of time. Then just follow the instructions on this page and add your own content.
https://webflow.com/website/pub-stack
Create your Outseta account
You can sign up for a 7-day free trial of Outseta here:
Install Outseta script
Add Outseta's script to the header of your site
Within Webflow, go to Project settings > Custom code. Copy and paste the script below into the header of your site—be sure swap out the placeholder domain with your own Outseta domain.
Also, be sure to remove the similar looking "Pubstack" header script from the site—this is included in your header by default when you clone the Pubstack template.
Configure Outseta
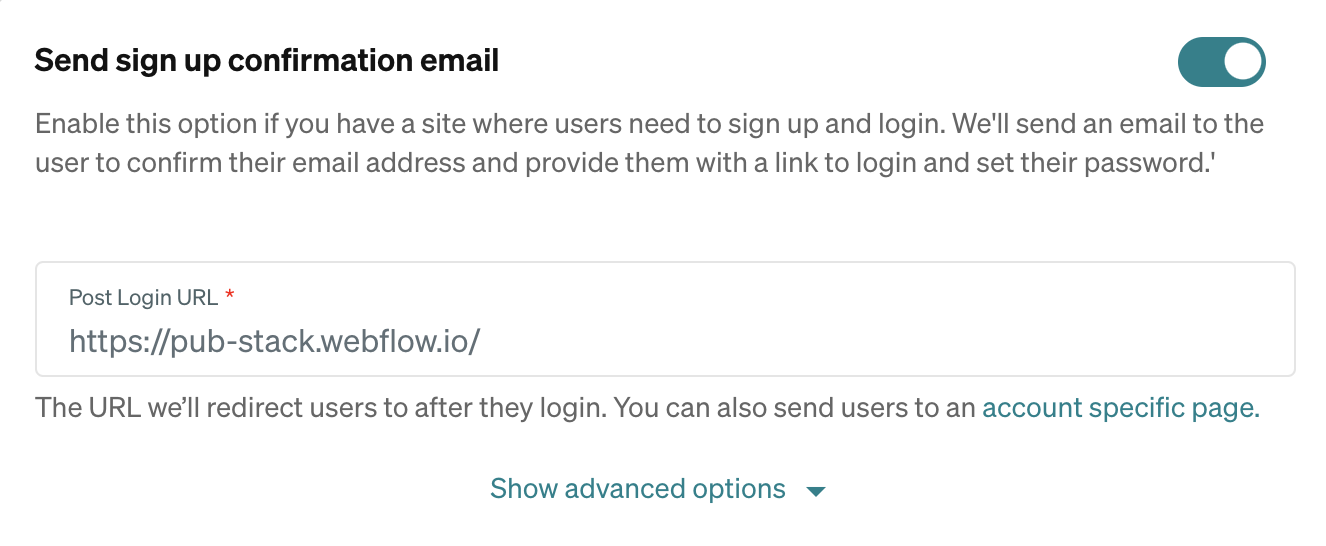
Set your Post login URL
Go to Auth > Embeds within Outseta. Set your Post login URL to your home page, or whatever page you want users to land when they log in.
Choose your sign up form fields
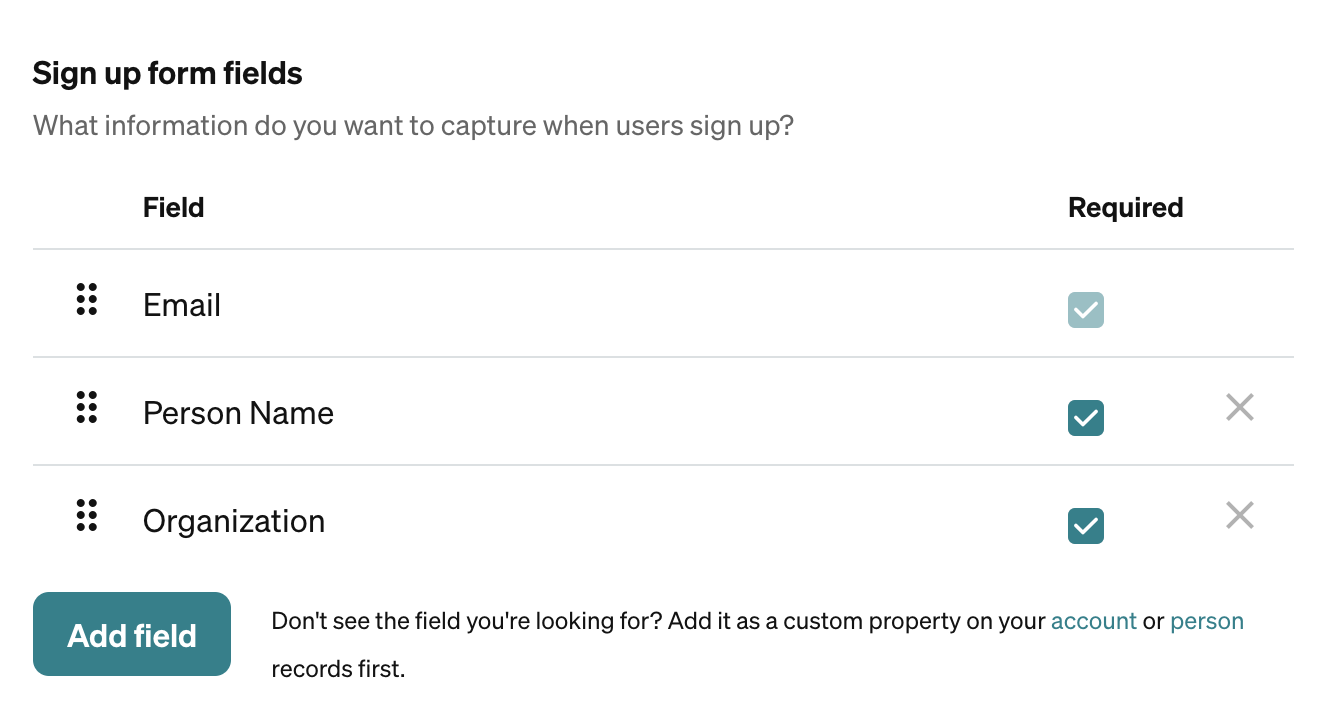
Scroll down to the Sign up form fields and choose what infomation you'd like to capture when users sign up.
Add a plan
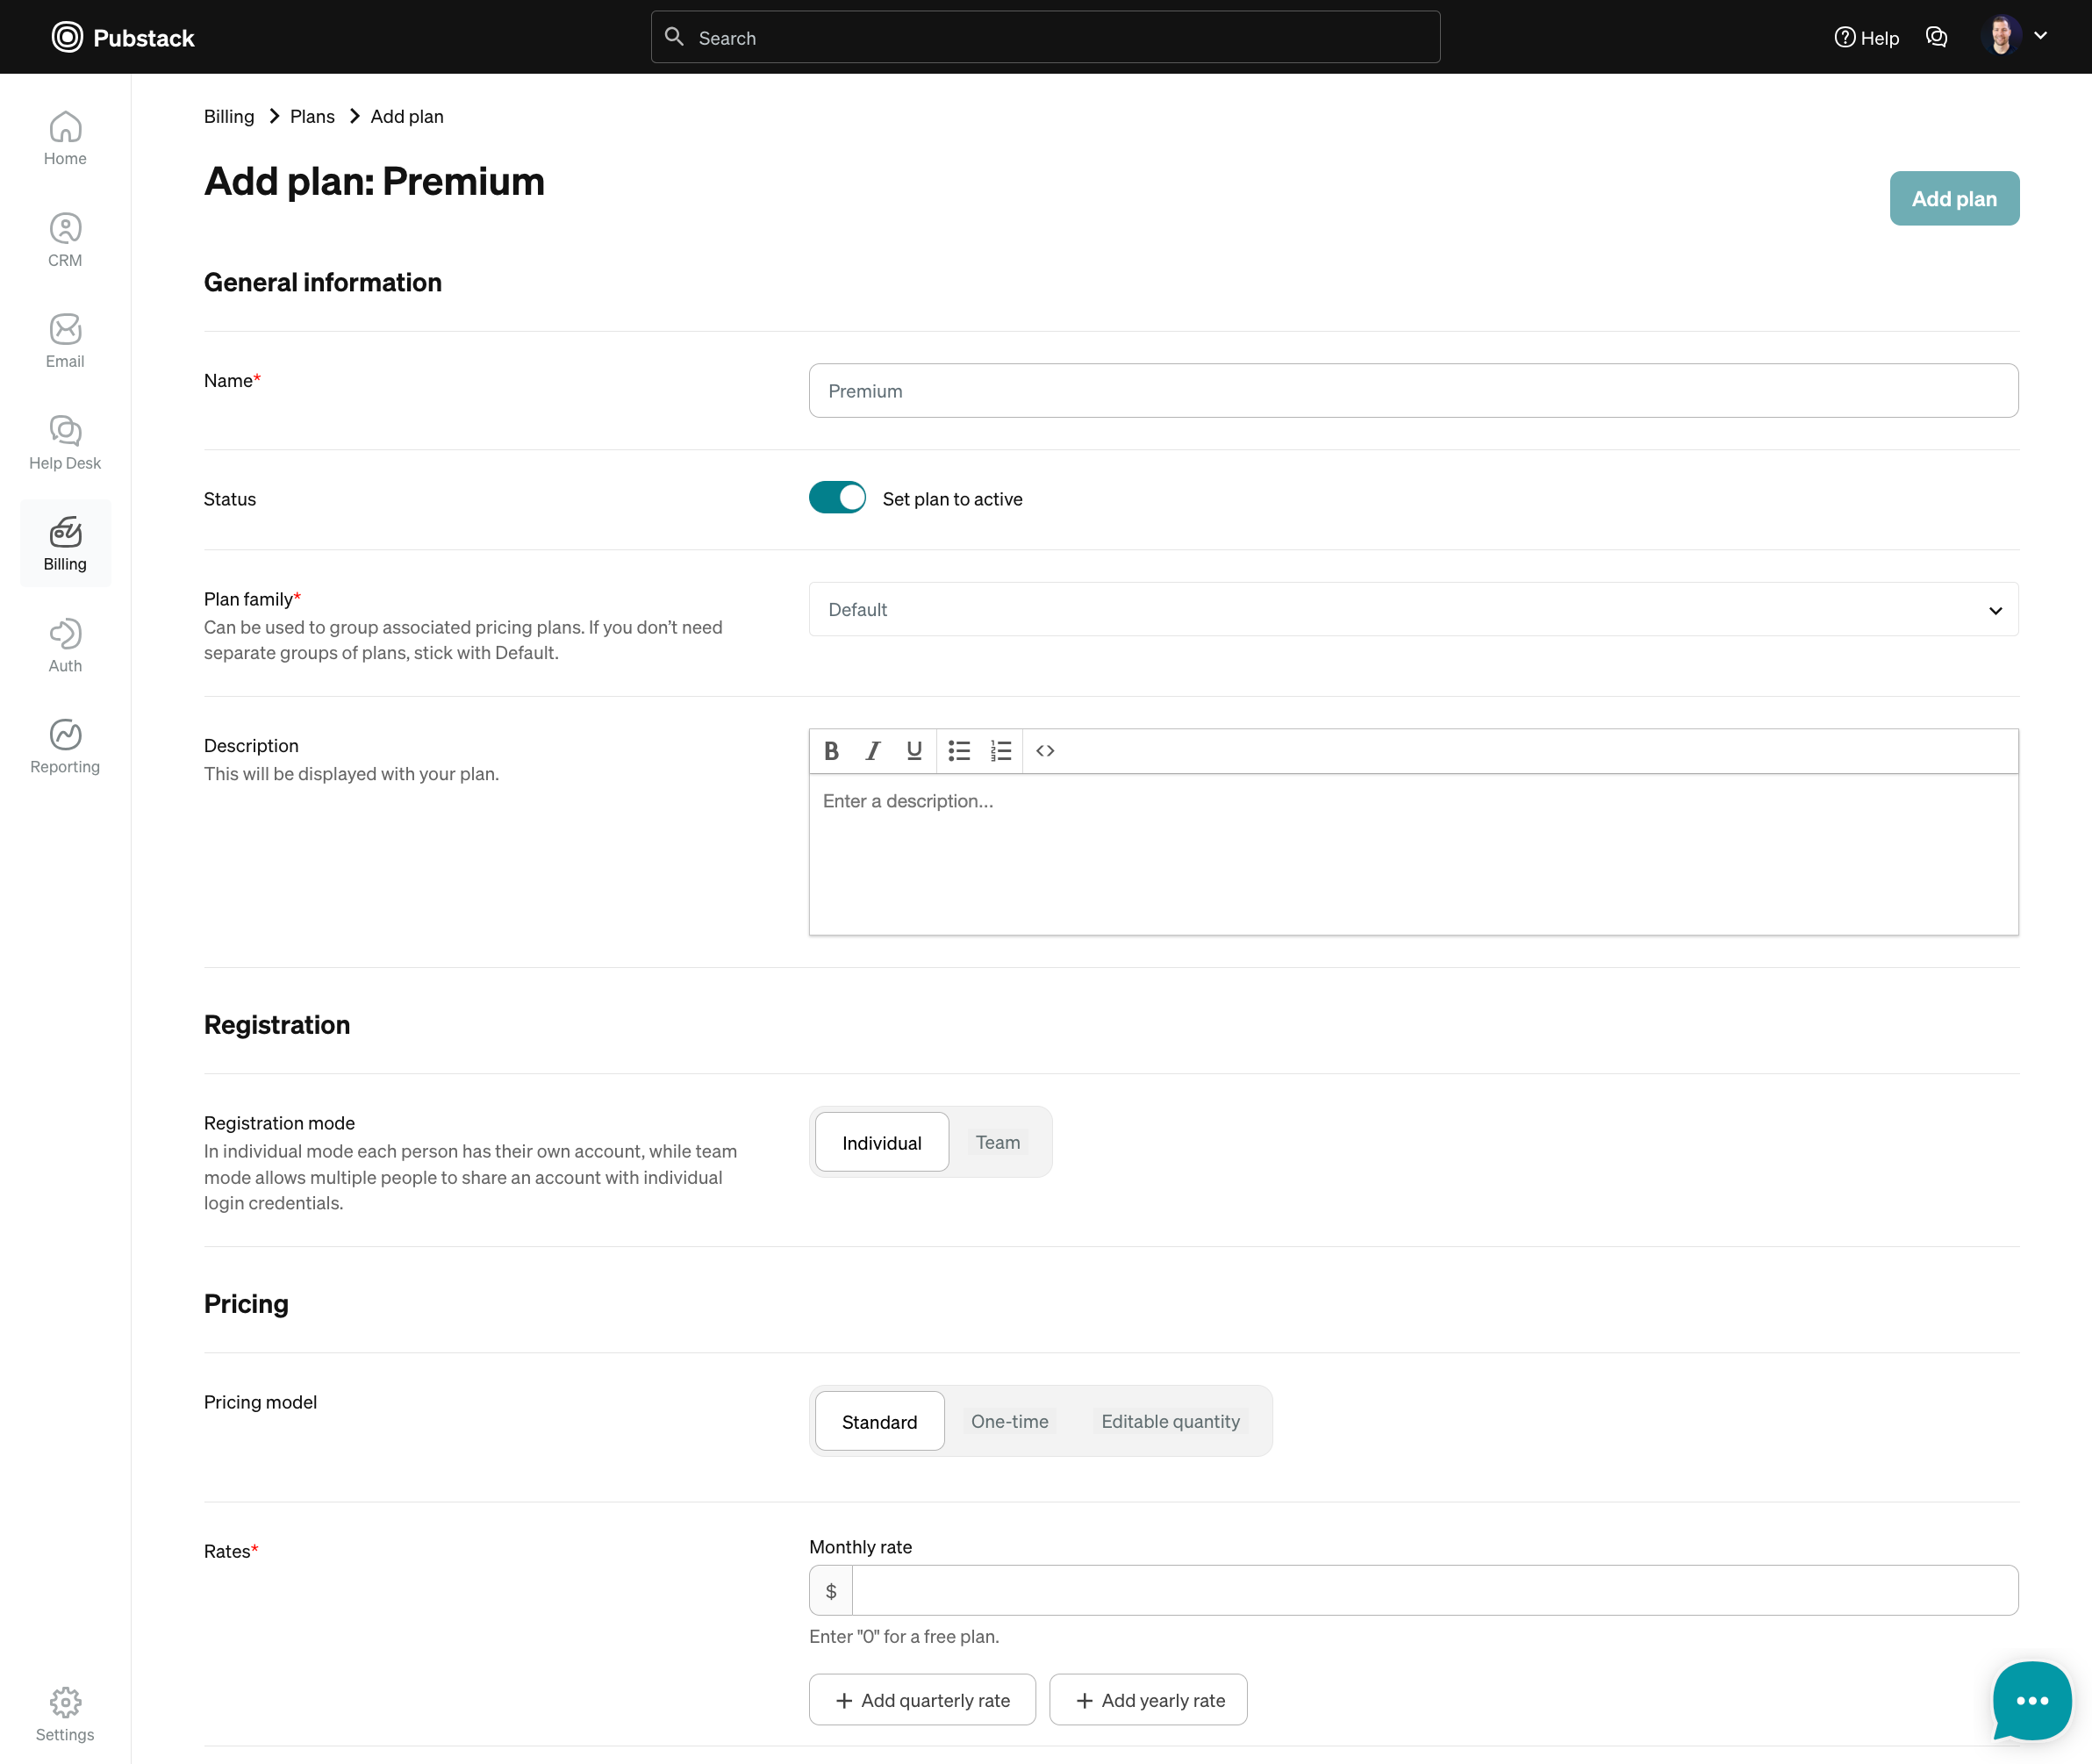
Go to Billing > Plans and add a plan that your users can sign up for in order to gain access to premium content. This doesn't necessarily need to be a paid plan—just enter "0" for the monthly rate in the pricing section to make it a free plan.
Add your sign up link
Copy the link
After you save the plan you just created, you'll see a box show up on the page that says "Install this plan". Click on it and grab your pop-up sign up link. Since you've already installed the page script, all you need is the pop-up trigger. Click to copy it.
Add it to Webflow
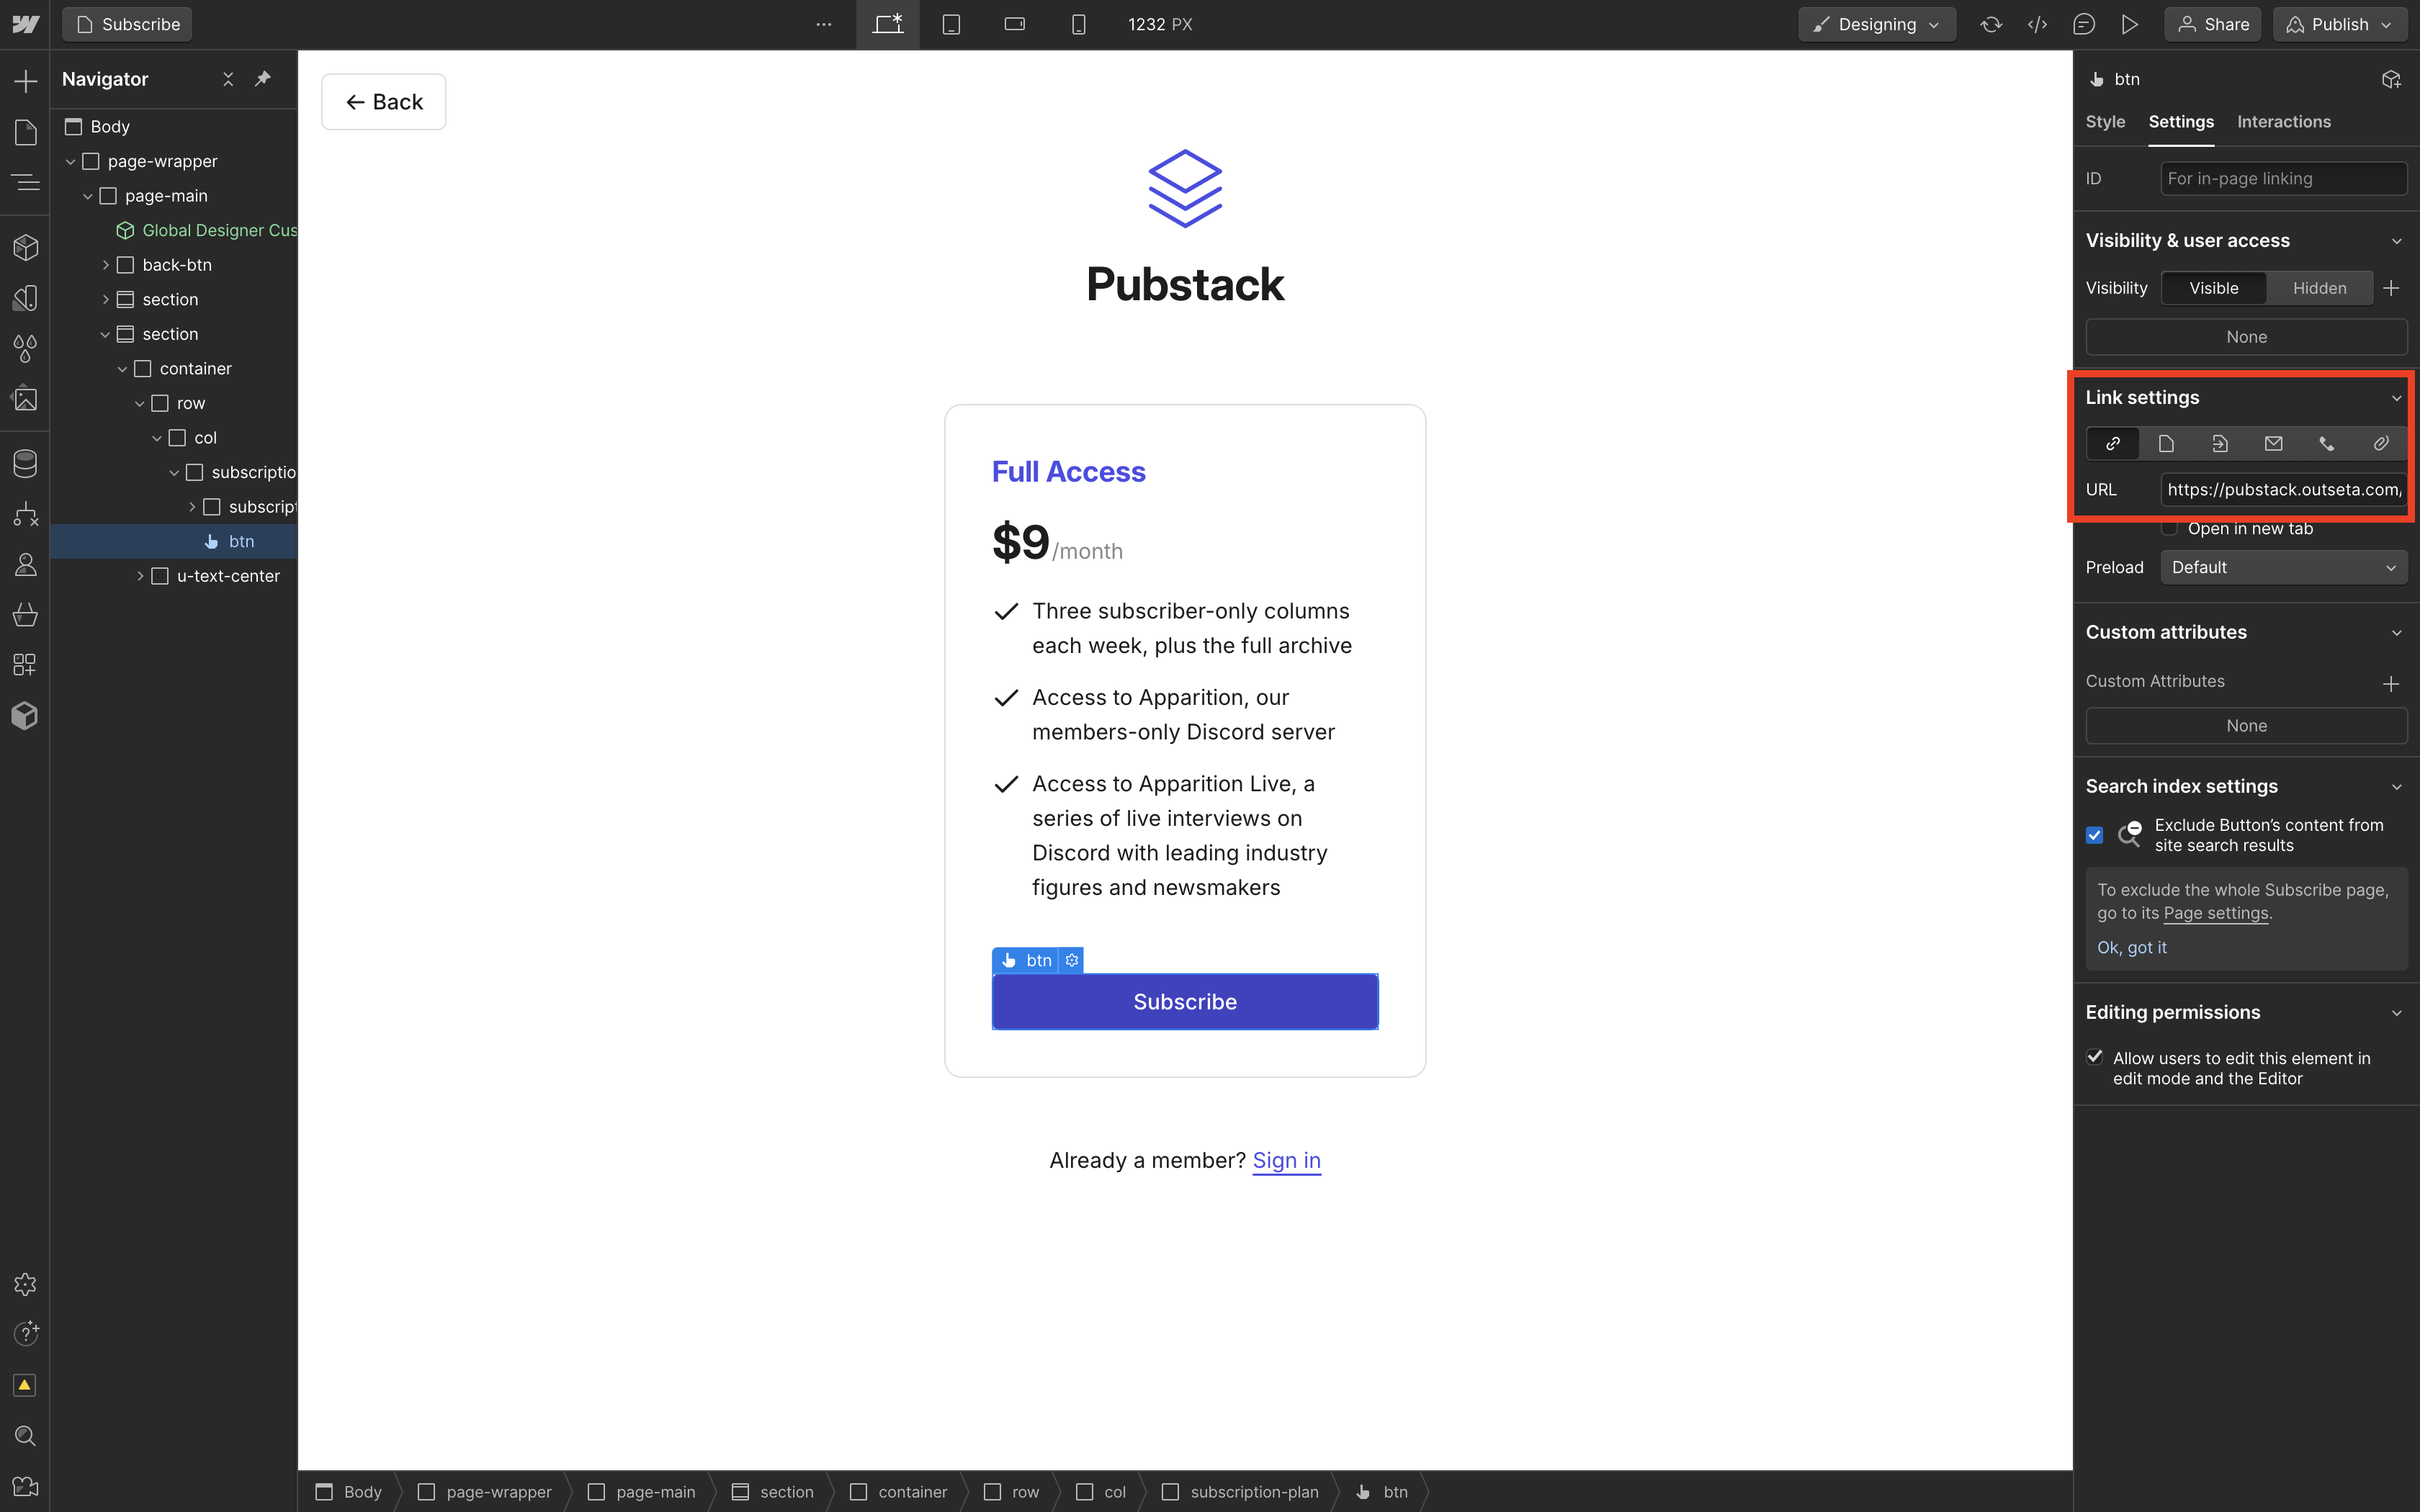
Back in the Webflow designer, go to the Subscribe page. Select the subscribe button and paste the link you just copied into the URL field.
Add your content
Articles CMS collection
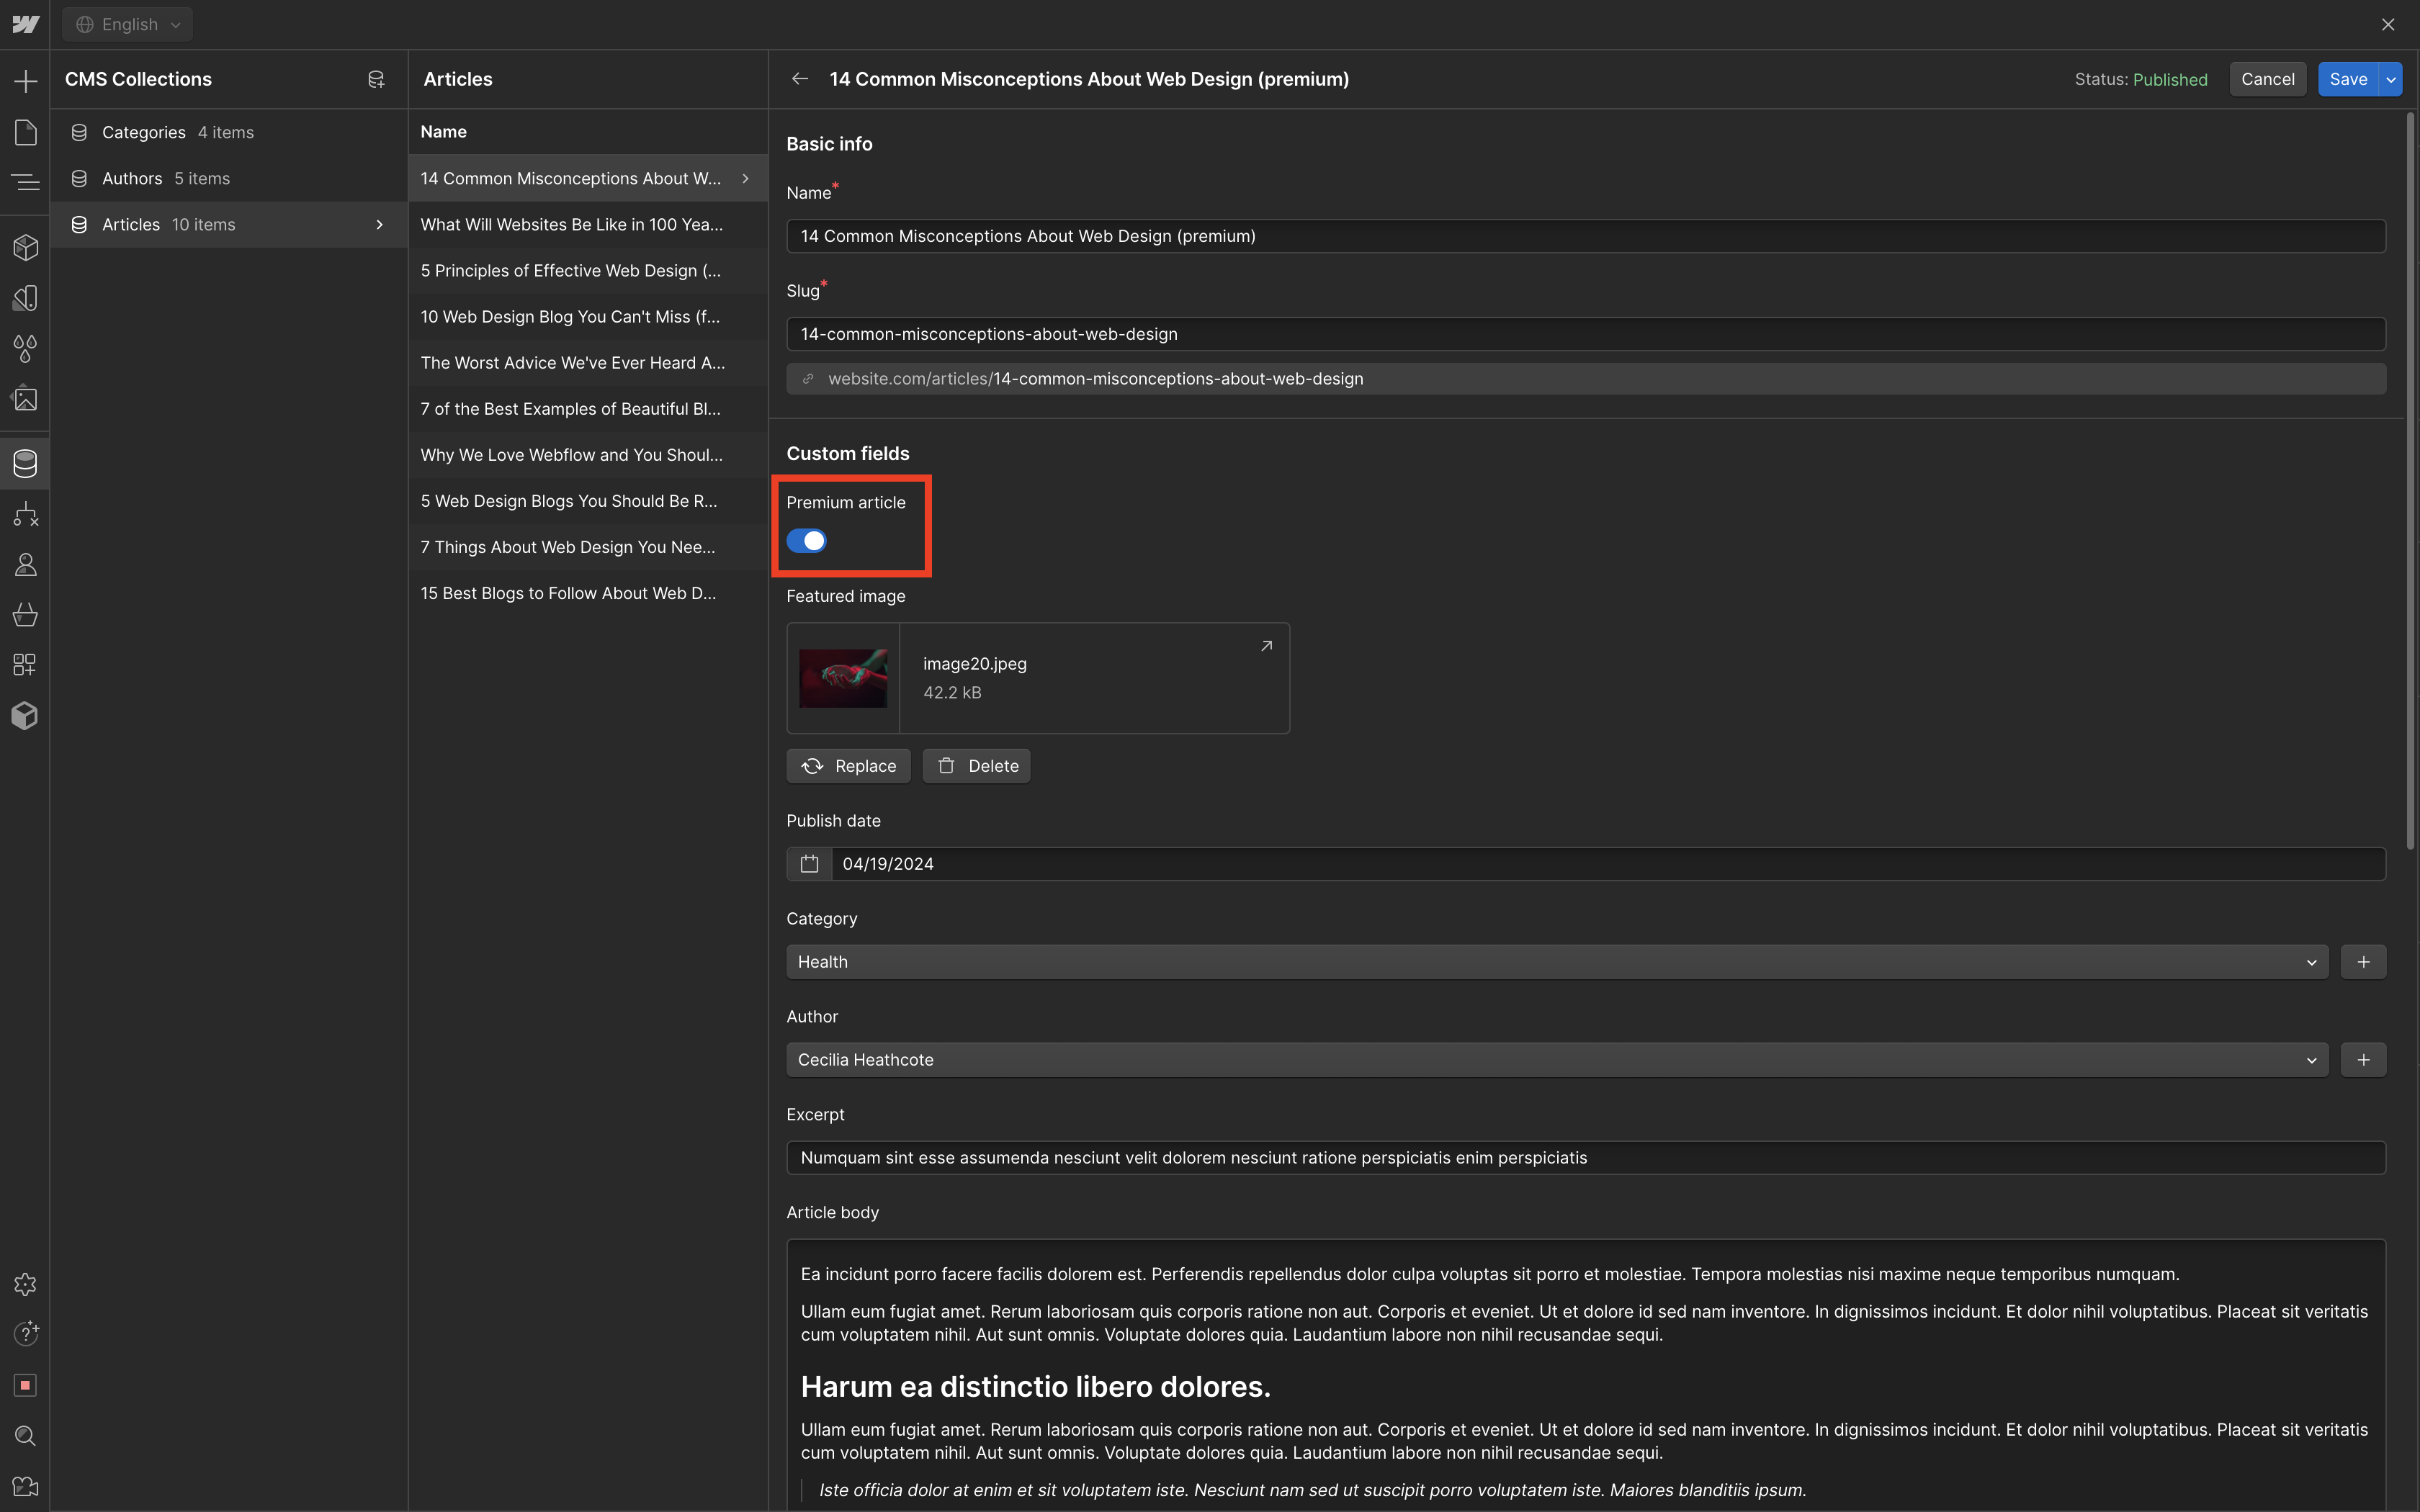
Adding your content is as easy as replacing the content in the "Articles" CMS collection. We've set this up so that you can easily choose which articles should be free for everyone and which articles should be "Premium" and only accessible to users that are subscribed and logged in. Just flip the switch on for premium articles.
